So, you're looking at that old, cracked patio or maybe you want a new pad for your grill, and you're thinking, "Hey, concrete can't be that hard, right?" Well, you're half right. For small, simple projects, a homeowner can definitely tackle concrete. But for anything bigger or more complex, you're gonna want to call in the cavalry. Let's break down what you need to know before, during, and after a concrete pour.
Before You Even Think About Mixing
First things first, what are you trying to build? A small, non-structural slab for a trash can pad? Go for it. A new driveway, a foundation for a shed, or a big patio that needs to drain just right? That's probably a job for someone with experience and the right equipment. Here's what you need to consider:
- Permits: For anything beyond a small, decorative slab, you might need a permit from the City of Richmond or Chesterfield/Henrico County. Don't skip this. Trust me, it's a headache to fix later.
- Utilities: Call 811 before you dig. Always. You don't want to hit a gas line or an electrical conduit. It's free, it's easy, and it could save your life (or at least your wallet).
- Excavation: This is where a lot of DIY projects go sideways. You need to dig down, remove organic material, and create a stable base. For a typical 4-inch slab, you'll need at least 4-6 inches of compacted gravel underneath. That's a lot of digging and hauling, especially if you're dealing with some of that heavy clay soil we've got around the Fan District.
- Formwork: You'll need to build sturdy forms to hold the wet concrete. They need to be straight, level, and strong enough not to bow out when filled. This takes some carpentry skill and good measuring.
- Rebar/Wire Mesh: For anything that's going to see traffic or heavy use, you'll need reinforcement. This helps prevent cracking. Laying it out correctly, with proper chairs to keep it suspended in the middle of the slab, is crucial.
- Tools & Materials: Do you have a wheelbarrow, shovels, rakes, screeds, floats, edgers, groovers? Do you know how to use them? And how are you getting the concrete? Bags from the hardware store are fine for a small pad, but for anything over 10-15 bags, you're looking at a ready-mix truck, and that's a whole different ballgame.
During the Pour: It's a Race Against Time
Concrete doesn't wait for you. Once it's mixed, you've got a limited window to get it in place, screeded, floated, and finished. This is where most DIYers get overwhelmed.
- Mixing: If you're mixing bags, follow the instructions precisely. Too much water weakens the concrete. Too little makes it impossible to work with.
- Placement: Get the concrete into the forms quickly and evenly.
- Screeding: This is leveling the concrete with a straight edge, usually a 2x4, across the top of your forms. It takes practice to get it right.
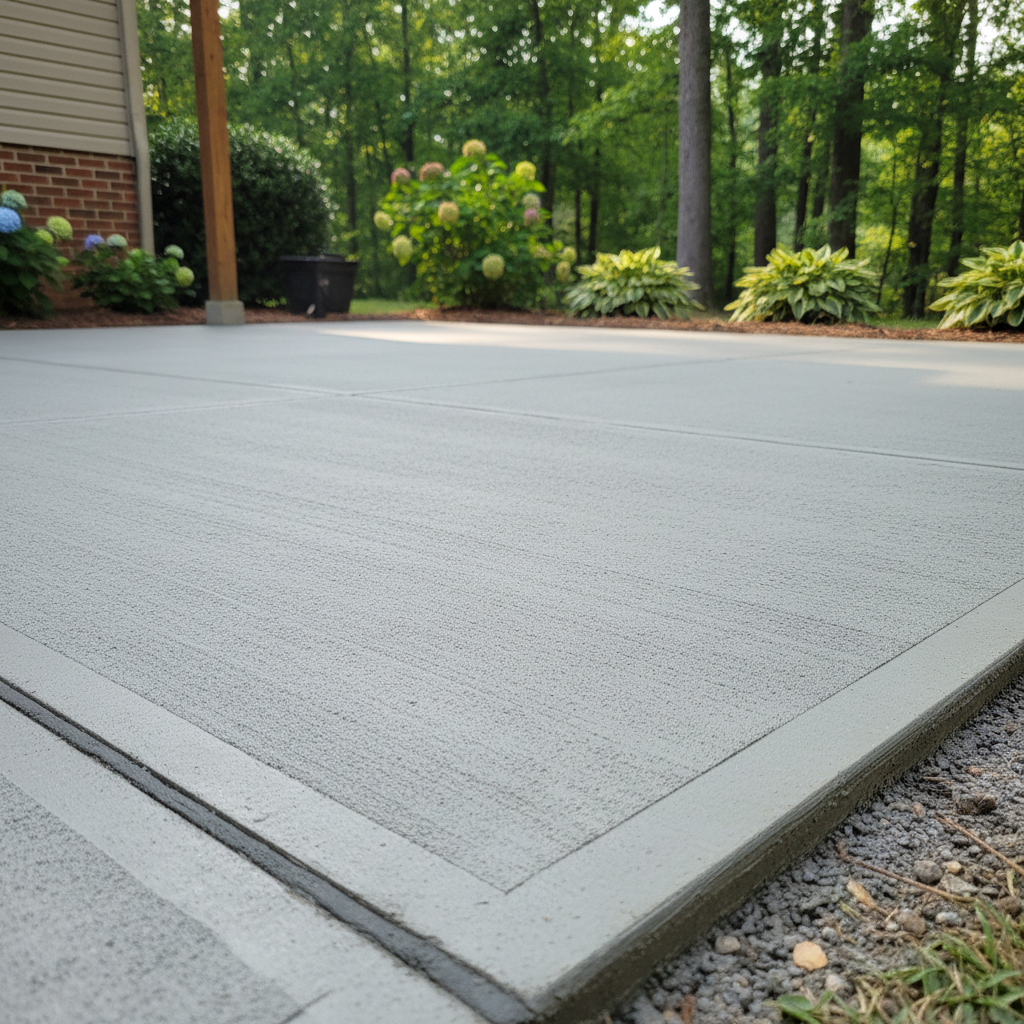
- Floating: Once the water sheen disappears, you use a bull float or hand float to smooth the surface and bring up the cream. This is critical for getting a durable, even finish.
- Edging & Grooving: Edgers give you a nice, rounded edge that's less prone to chipping. Groovers (or control joints) are essential. They create planned weak spots so the concrete cracks where you want it to, not randomly across your beautiful new surface. Don't skip these, especially on larger slabs.
For anything larger than, say, a 4x4 foot slab, I highly recommend having at least one helper, preferably two. It's hard, heavy work, and you're on the clock.
After the Pour: Patience is a Virtue
You're not done when the concrete looks good. Curing is just as important as the pour itself.
- Curing: Concrete needs moisture to cure properly and gain strength. For at least 7 days (and ideally 28), you need to keep it wet. This means misting it with water, covering it with plastic sheeting, or using a curing compound. If it dries out too fast, it'll be weak and prone to cracking.
- Protection: Keep traffic off it for at least 3-7 days for light foot traffic, and 7-10 days for heavy foot traffic or light objects. Don't drive a car on it for at least 28 days. I've seen too many people ruin a new driveway by rushing this.
- Sealing: Once fully cured, consider sealing your concrete. It helps protect it from stains, water penetration, and freeze-thaw cycles, which are definitely a thing here in Richmond.
Look, I get it. Saving money is great. For a small, simple project, a DIY concrete pour can be a rewarding experience. You'll learn a lot, and you'll have the satisfaction of doing it yourself. But for anything that matters – a patio you'll entertain on, a sturdy shed foundation, or a driveway that needs to last for decades – that's when you call in the pros. We've got the tools, the crew, and the know-how to get it done right the first time. Sometimes, the best DIY is knowing when to hire RVA Classic Concrete.